Blog post header image by ‘Timelab Pro’ on Unsplash
Why Kubernetes in the First Place
My resolution coming out of 2022 was to gain Cloud Native knowledge and a bit of hands-on experience around Kubernetes. I was sure that I am way behind, but it was a must to catch up. Most importantly, since I care about data storage the most, I really wanted to learn how an ephemeral compute instances “container” can provision and orchestrate storage volumes to it.
But again, why did I need to do the exam? Basically, I ask my self the same question every time I study for a certification. Back in the days when I was working with channel partner for HPE and IBM it was part of my job to pass those certification exams, so you get qualified to do the work. But this is not the case this time, I wanted to do the exam just because of its reputation. CKA is part of Linux Foundation certification program unlike other tech exam cert they aim to test your skills by applying them into interactive hands-on tasks on test environment.
So How did I Make it in one Week?
So from the title, I didn’t get into Kubernetes and do the CKA exam in a matter of one week! I have been following the K8s trend for a while now, and even if my day-to-day job has almost 0% interaction with containers or K8s, I still find some time in the weekends to read articles, blogs, or watch demos. But again, no real practice.
When I decided to book the exam, I did my research and this is the summary of what I’ve found, I will be breaking it into three pieces: Study Material I used, practice lab environment, and the tips I got out of this journey.
Study Material
- I choose the course from KodeKloud, it is was more than I enough for covering both the theoretical and practical exam domains. What helped me were the hands-on quizzes at the end of each section, I usually jump ahead to the practice since it is not just a multiple questions. It gave you a set of tasks to go through which will cover the whole topic and a practical way.
- CKA is an open book test, where you have access to the official Kubernetes documentation exam. So make sure that you familiarize yourself with how to navigate it. It is your only friend when things get dark on the terminal :)
Practice Lab
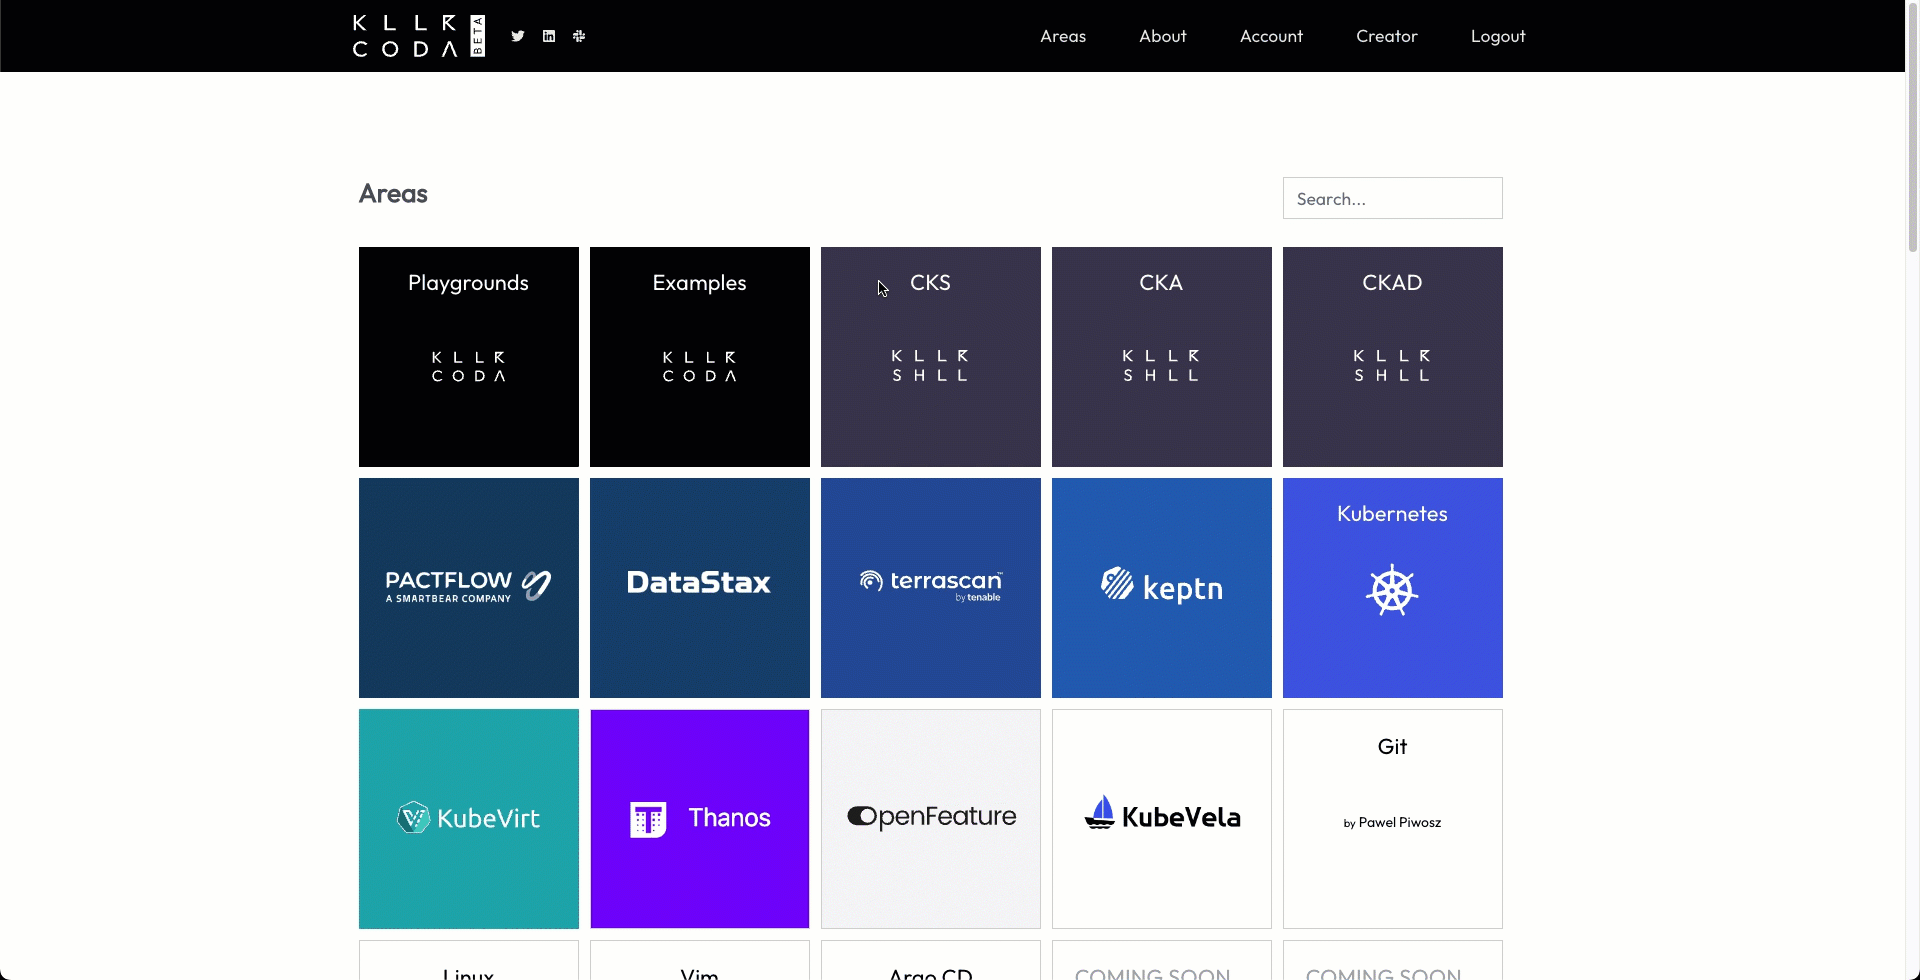
- Since I really liked the fact I can practice on my browser after trying KodeKloud quizzes. I found this gem killercoda It offers a free sandbox that has the latest K8s version, Which saved me from setting up my own K8s env and wiping it over and over.
- After I booked the exam, I found out there are 2 exam simulator sessions provided by killer.sh. These mock exams are VERY tough as compared to the actual exams, as they mention, but do provide a great learning experience. Do not get demotivated if you flunk badly on time on this one :).
Tips and Tricks
Kubectl autocomplete
- First things first, start your practice/exam by executing the following commands kubectl cheat sheet. Believe me you don’t need to type the whole thing over and over, so press tab tab when you can.
# set up autocomplete in bash into the current shell, bash-completion package should be installed first.
source <(kubectl completion bash)
# add autocomplete permanently to your bash shell.
echo "source <(kubectl completion bash)" >> ~/.bashrc
Use Alias
- You don’t have to shorthand everything, the below is what made a difference for me:
alias  k=kubectl
export do="-o yaml --dry-run=client"
Context and Namespace
- At the beginning of each question they will ask you to switch to context. So keep an open eye for where are you answering.
Imperative approach
- This is the golden rule, even if K8s is built on declarative approach, every thing is defined into a YAML file. Imperative commands can help in getting one time tasks done quickly, as well as generate a definition template easily. You don’t have to memorize YAML manifests for each object!. Also, time is limited to 2 hours, therefore imperative would help save considerable amount of time. I think an example here would be perfect:
If you wanted to create a Pod, You can simply do this:
kubectl run nginx --image=nginx
But what if you wanted to add persistent volume or configure resources limits, you would need to interact with the YAML file.
1# Generate Pod Manifest YAML file (-o yaml). Don’t create it(–dry-run)
kubectl run nginx --image=nginx --dry-run=client -o yaml
Output:
controlplane $ kubectl run nginx --image=nginx --dry-run=client -o yaml
apiVersion: v1
kind: Pod
metadata:
  creationTimestamp: null
  labels:
    run: nginx
  name: nginx
spec:
  containers:
  - image: nginx
    name: nginx
    resources: {}
  dnsPolicy: ClusterFirst
  restartPolicy: Always
status: {}
2# Pass the Manifest into a file, access it with vi to add whatever the task may be.
kubectl run nginx --image=nginx --dry-run=client -o yaml > pod.yaml
3# Apply the manifest to create the Pod.
kubectl apply -f pod.yaml
kubectl create …
- Whenever possible, use kubectl create.
controlplane $ k create
clusterrole          (Create a cluster role)
clusterrolebinding   (Create a cluster role binding for a particular cluster role)
configmap            (Create a config map from a local file, directory or literal value)
cronjob              (Create a cron job with the specified name)
deployment           (Create a deployment with the specified name)
ingress              (Create an ingress with the specified name)
job                  (Create a job with the specified name)
namespace            (Create a namespace with the specified name)
poddisruptionbudget  (Create a pod disruption budget with the specified name)
priorityclass        (Create a priority class with the specified name)
quota                (Create a quota with the specified name)
role                 (Create a role with single rule)
rolebinding          (Create a role binding for a particular role or cluster role)
secret               (Create a secret using specified subcommand)
service              (Create a service using a specified subcommand)
serviceaccount       (Create a service account with the specified name)
token                (Request a service account token)
Copy/Paste YAML code
- During the exam, you might need to copy YAML manifests from open documentation (Specially when working with Storage tasks, Create Storage Class, PVC, PV. There is no imperative commands for those tasks yet). And since the exam environment is Linux machine that you will be accessing over RDP. What you are a custom to maybe (I’m talking about myself her :D) to copy/paste Command + C / Control + C won’t work. The best way to practice copy/paste is to use the free two mock exams from killer.sh.
Open Documentation Links I have used the most
While practicing use the below links to do the below tasks, Also learn how to find them by searching the documentation. You will thank me later :)
- kubectl Cheat Sheet
- Assign Memory Resources to Containers and Pods
- Create Static Pod
- Attach emptyDir Volumes
- Provision PersistentVolume and PVC
- Troubleshoot Sidecar containers
- Backup/Restore ETCD
- Create Service
- Assign Network Policy
Let’s summarize the above with practice question.
Practice Question
This question is a mock of the exam it is not the same but what I still vividly remember. Give it a try at KillerCoda or just follow along the answer below.
Note: The exam will alwasy remind you to change the context.
Use context: kubectl config use-context k8s-c1-H
You’re asked to create a pod with two containers and expose it internally, You can create the pod in any node. For this perform the following in Namespace project-phoenix:
-
Create a new Pod named
phoenix-podwith two containers, one of imagenginx:1.19-alpineand one of imagebusybox:1.30. Make sure the busybox container keeps running for some time. Hint: Use the following script to keep it the busybox running:sh -c while true; do sleep 1; done -
Create a new Service named
phoenix-servicewhich exposes that Pod internally in the cluster on port9000->80.
The Answer:
- Let first create the Pod by generating yaml manifest
k run phoenix-pod --image=nginx:1.19-alpine -n project-phoenix -o yaml --dry-run=client > podx2.yaml
- Then we add the second container
busybox:1.30
vi podx2.yaml
===
apiVersion: v1
kind: Pod
metadata:
  creationTimestamp: null
  labels:
    run: phoenix-pod
  name: phoenix-pod
  namespace: project-phoenix
spec:
  containers:
  - image: nginx:1.19-alpine
    name: phoenix-pod
    resources: {}
  - image: busybox:1.30                                      # add
    name: phoenix-pod2                                       # add
    command: ["sh", "-c", "while true; do sleep 1; done"]    # add
  dnsPolicy: ClusterFirst
  restartPolicy: Always
status: {}
- Create the Pod
k apply -f podx2.yaml
- Check the pod is running
k get pods -n project-phoenix
NAME          READY   STATUS    RESTARTS   AGE
phoenix-pod   2/2     Running   0          25s
- The second part is to create a service
k -n project-phoenix expose pod phoenix-pod --name phoenix-service --port 9000 --target-port 80
- Check the service is created
k -n project-phoenix get svc
NAME              TYPE        CLUSTER-IP     EXTERNAL-IP   PORT(S)    AGE
phoenix-service   ClusterIP   10.106.23.95   <none>        9000/TCP   7m9s
I am a K8s Certified now, What’s Next?
It feels great to get certified, it gives you the confidence and the motivation to do more. I am currently working on different setups, which I will be sharing here with you every time I feel like I did something cool, or I need to write the idea down I might look back to it one day :). But definitely, expect me to blog about K8s integration with Pure FlashArray/Cloud Block Store and Portworx CSI. or just drafting my way through the clouds (as my blog slogan says).
Closing
To conclude this, I know I made it in one week but it was a bit stressing and If I would re-do it I would take my time and plan studying and practicing better. So don’t be like me and practice in advance :)
Hope you found this useful, I am still working on the commenting system, so if you got feedback or just want to discuss something, reach me out on Linkedin or Twitter.
comments powered by Disqus